Installing FTTH in Multi-Tenant Units: A Landlord’s Guide
Tenants want more than clean water and working lights. They want fast, reliable internet. If your property doesn’t offer it, they’ll look elsewhere.
Installing Fiber To The Home (FTTH) in your multi-tenant building isn’t just about adding value—it’s about meeting basic expectations.
If you're a landlord or property manager, here’s how to get it done without stress.
What Is FTTH?
FTTH delivers internet through fiber optic cables directly into each unit. Unlike shared broadband or copper-based setups, FTTH gives tenants a dedicated fiber line.
That means better speed, fewer interruptions, and stronger resale or rental appeal.
Why FTTH Makes Sense for Landlords
- Increases property value
- Attracts long-term tenants
- Reduces complaints about slow internet
- Simplifies ISP onboarding
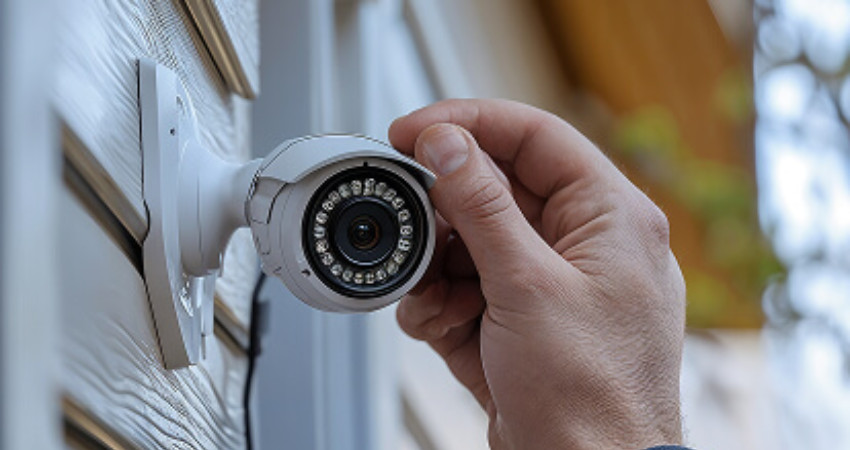
- Supports smart home features like cameras and intercoms
Step 1: Choose the Right ISP
Start by comparing providers that offer FTTH in your area. Look at:
- Coverage in your location
- Internet speeds and packages
- Installation timelines
- Cost-sharing models
- Support response time
Some ISPs offer revenue-sharing or discounted rates if you install fiber to all units upfront.
Tip: In Kenya, providers like Safaricom, JTL Faiba, and Liquid Telcom offer FTTH services. Check which ones already serve neighboring properties.
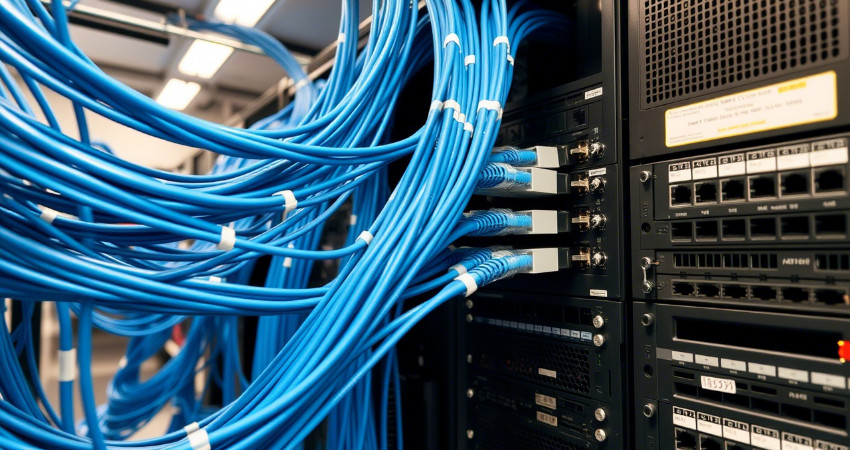
Step 2: Plan Your Building Layout
Don’t let installers drill random holes in your walls. Walk them through your property.
Decide where to run the main line (trunk cable) and how to branch it to each unit. This avoids ugly cabling and future repairs.
A clean layout should include:
- Fiber splitter or distribution box in a secure area
- Trunking or conduits for neat routing
- Wall boxes inside each apartment
- Extra space in ducts or risers for future upgrades
If you're building new units, lay conduits in advance.
Step 3: Decide Who Pays for What
You have a few options:
- You pay for full infrastructure and offer ready-to-use fiber in each unit. Tenants only need to pick a plan.
- You split costs with the ISP. They bring the fiber; you provide access and space for equipment.
- You leave fiber at the gate, and tenants pay for individual drop cables.
Each option has trade-offs. If you want to boost rent or appeal, pay upfront. If you're on a tight budget, share the cost.
Step 4: Coordinate With Tenants
If your building is already occupied, don’t surprise your tenants with loud drills.
Let them know:
- When the work will happen
- How long it will take
- Which rooms will be affected
- Who to contact with questions
A two-day project can turn into a mess if people don’t know what’s going on.
Step 5: Prepare for the Installation
Before the team arrives:
- Clear the access areas
- Confirm power is available at key points
- Make sure security is informed
- Set a target number of units to be connected that day
Don’t wait until the crew is standing at your gate to sort out logistics.
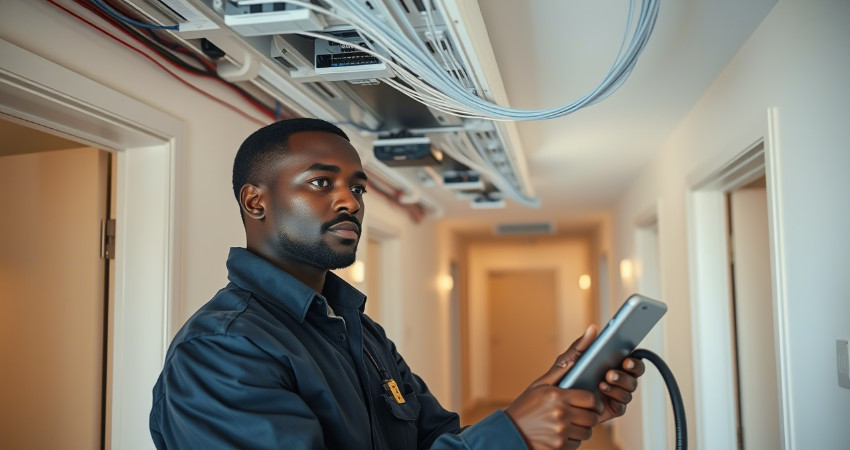
Step 6: Inspect the Work
Once installed:
- Test signal at each unit
- Check that the cabling is hidden or protected
- Confirm every wall box is labeled or documented
- Review warranty or support agreements from the ISP
A neat job today prevents service calls tomorrow.
Step 7: Promote It
Once you have fiber installed, mention it in every ad.
Say things like:
- “Ready-to-use fiber connection”
- “High-speed FTTH available in every unit”
- “No shared bandwidth—dedicated line per apartment”
This attracts remote workers, students, and anyone who works online.
Common Questions Landlords Ask
Can I limit tenants to one provider?
Not legally. But you can offer one pre-installed option and let others request alternatives.
What if I only have 4–6 units?
FTTH still works. Some providers accept small installations if they’re in a growing area.
Can I add the cost to rent?
Yes. If you cover the base package, you can include it in the monthly rent and let tenants upgrade if they want more speed.
Final Thought
FTTH is more than a nice-to-have. It’s becoming standard.
By installing it the right way, you reduce tenant churn, cut down complaints, and future-proof your property.
Start by talking to a provider. Walk your site. Set a budget. Then install it once—and do it well.